How To Protect Your Drains During Home Renovations
A home renovation is a whirlwind of excitement, dust, and decisions. From picking paint colors to choosing new fixtures, the focus is almost always on what you can see. But beneath the surface, a critical part of your home is often left vulnerable: your plumbing. Amid the chaos of demolition and construction, it’s all too easy for renovation debris to find its way down a drain, causing clogs, backups, and problems you definitely didn’t budget for.
We get it. The last thing you want to think about during a remodel is your sewer line. But a little preventative care can save you from a major plumbing headache later. To help make this possible, this guide details everything you need to know to protect your drains during your home renovations.
Why Renovation Debris is Your Plumbing’s Worst Enemy
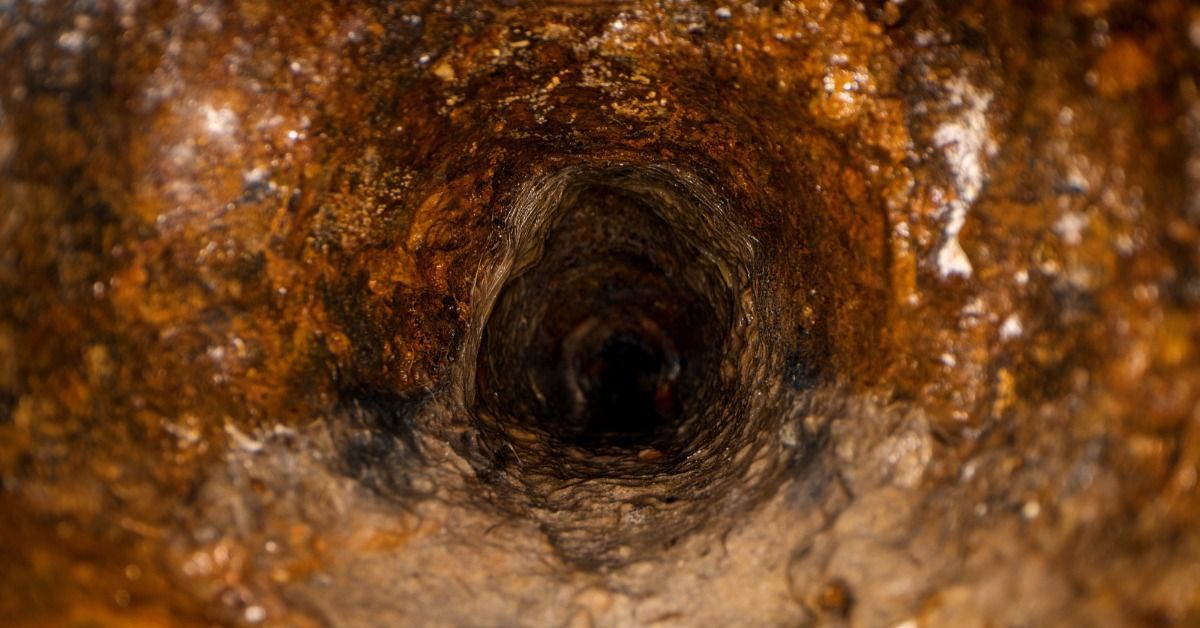
Your drains are built to handle water, soap, and other organic materials—not the heavy-duty byproducts of a construction project. When materials like grout, paint, or sawdust enter your pipes, they don’t always wash away. They tend to settle, stick, and harden, creating formidable blockages.
Certain materials are notorious for causing plumbing disasters. Drywall compound and grout, for instance, are dense and harden like cement when they dry. If they get into your pipes, they can create a solid, immovable obstruction that no amount of plunging can fix. Paint is another common culprit. Washing brushes in a utility sink coats the inside of your pipes with a sticky layer that catches other debris, leading to a slow-building but severe clog.
Even seemingly harmless particles like sawdust and plaster dust can become a problem if you’re not careful. When mixed with water, they form a thick sludge that accumulates over time, restricting flow and eventually causing a complete blockage. The initial sign might be a slow-draining sink, but this can quickly escalate into wastewater backing up into your newly renovated space—a messy and unsanitary situation that can cause significant water damage.

Your Pre-Renovation Plumbing Protection Plan
The best time to protect your drains is before you swing your first hammer. A proactive approach is the most effective strategy and should be a standard part of your renovation checklist.
Step 1: Cover All Drains in the Work Zone
Physically blocking access to drains is the simplest and most effective way to prevent debris from getting in. This rule applies to every single drain in or near the renovation area. For sinks and tubs, use heavy-duty painter’s tape to secure a thick plastic sheet or a piece of cardboard over the drain opening. For an even more secure seal, you can use an expandable test plug, which creates a watertight barrier inside the drain.
Don’t forget about toilets. If a bathroom is being renovated, shut off the toilet’s water supply, drain the bowl, and cover it tightly with plastic wrap to signal that it’s off-limits. Floor drains in basements, laundry rooms, and garages are especially vulnerable to being swept into. Cover them securely with durable tape and a piece of plywood to prevent anyone from accidentally breaking the seal.
Step 2: Create a Designated Cleanup Station
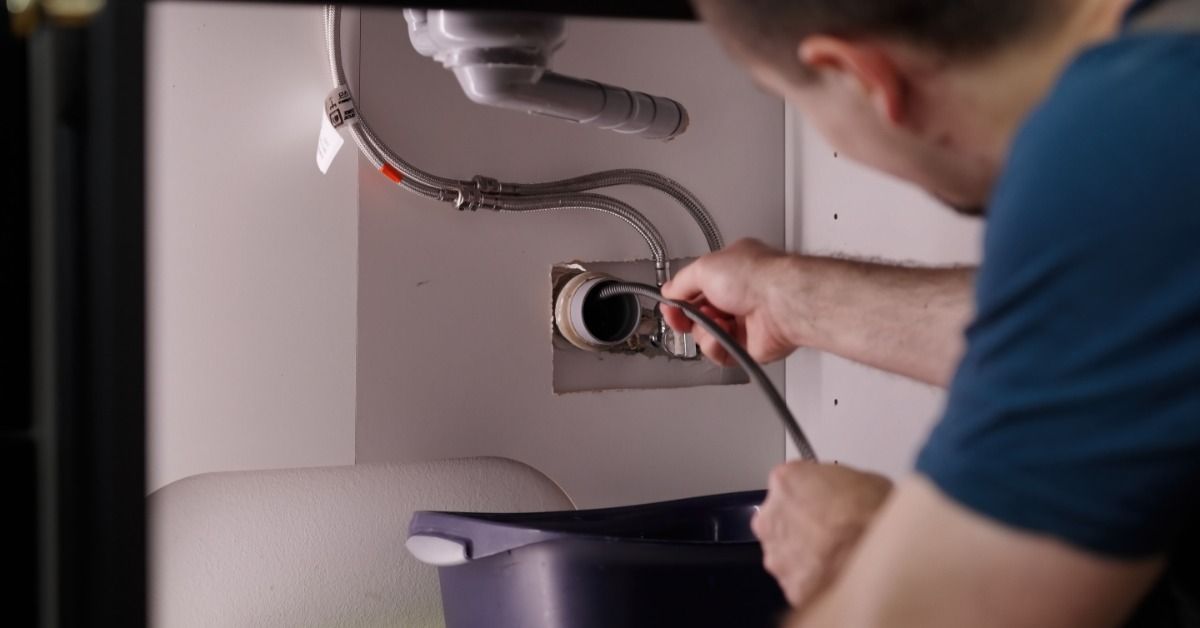
It might seem convenient to use a utility sink for cleaning tools and buckets, but this is a direct route for debris to enter your plumbing. Instead, set up a dedicated cleanup station outside your home. A hose, a couple of buckets, and some towels in your yard or driveway will do the trick.
Use this area to wash all tools, brushes, and hands. Allow materials like paint sediment, grout, and drywall mud to settle in the buckets. Once the solids have settled, you can pour off the clear water and dispose of the sediment in the trash according to your local waste disposal guidelines. This simple step ensures harmful materials never enter your plumbing system.

Smart Practices During and After the Project
Maintaining your protective measures throughout the renovation is just as important as setting them up. The daily chaos of a construction site can easily lead to a dislodged drain cover.
Monitor and Maintain Your Drain Covers
Make it a daily habit to inspect all your covered drains. At the end of each workday, do a quick check to ensure they are still securely sealed. Replace any tape or plastic that looks worn, torn, or loose. This five-minute routine can prevent a costly mistake that sets your project back.
Be Strategic About Debris Management
Proper waste management on-site provides another layer of protection for your plumbing. Instead of sweeping up fine particles like sawdust and drywall dust, use a shop vacuum with a fine dust filter. This captures the dust rather than sending it airborne, where it can settle in unexpected places. Keep trash cans readily available throughout the work area and establish a clear rule with your team or contractors: nothing gets poured down a drain.
Carefully Cleaning Up Afterward
Once the renovation is complete, resist the urge to immediately uncover your drains. The final cleanup process requires careful attention to detail. Before removing any drain covers, thoroughly clean the entire space. Vacuum all remaining dust and small debris from floors, countertops, and fixtures. Then, wipe down all surfaces with damp cloths, rinsing them in an outdoor bucket.
Only after you’ve thoroughly cleaned up the area should you remove the drain covers. Before running any water, inspect the drain opening for any debris that may have slipped through and remove it by hand or with a vacuum. When you do run water for the first time, turn it on slowly and let it run for several minutes. Watch for any signs of slow draining, which could indicate a partial clog has formed despite your best efforts.
Knowing When to Call for Professional Help
Even with a solid plan for protecting your drains during home renovations, mishaps can still occur. If you spot slow drains, gurgling sounds, water backup, or persistent odors after your project, debris may be blocking your pipes.
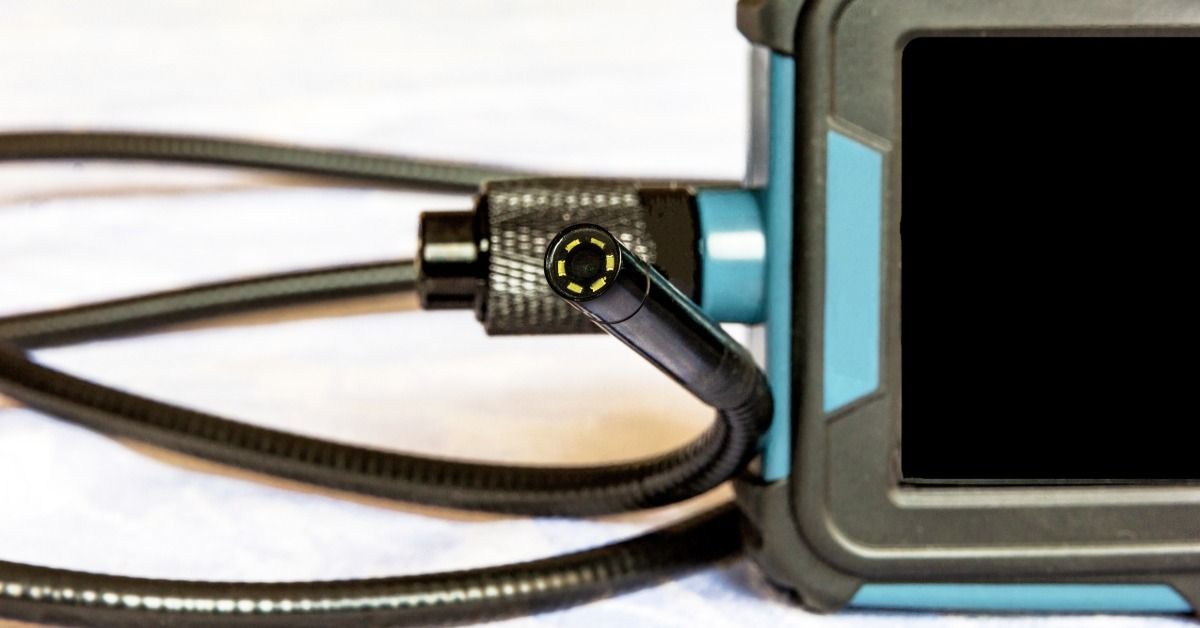
You’ll likely consider DIY fixes, but these can make the problem worse or push the clog even deeper. This is where professional sewer line services make a difference. With advanced tools—like sewer cameras and hydro jetting—teams can quickly diagnose and clear stubborn blockages, protecting your plumbing and your renovation investment. If this sounds like a service you need, be sure to reach out to the Sewer Bros for assistance.
You might also like
Blog